Pain is a curious body sensation; it works as a warning from the body telling the person, "Hey! We just twisted the ankle, and it hurt! Stop running, or at least slow down to take a look." The sensation, of course, varies depending on how complicated the injury. It might just feel like a slight pinch or a painful stabbing sensation in case of a fracture.
Yet, pain also plays an essential part in healing once the damage is determined and the individual can take a look at how best to treat the wound. Pain will tell you where to apply adhesive athletic tape, and it is vital to know how to apply the adhesive tape to the area.
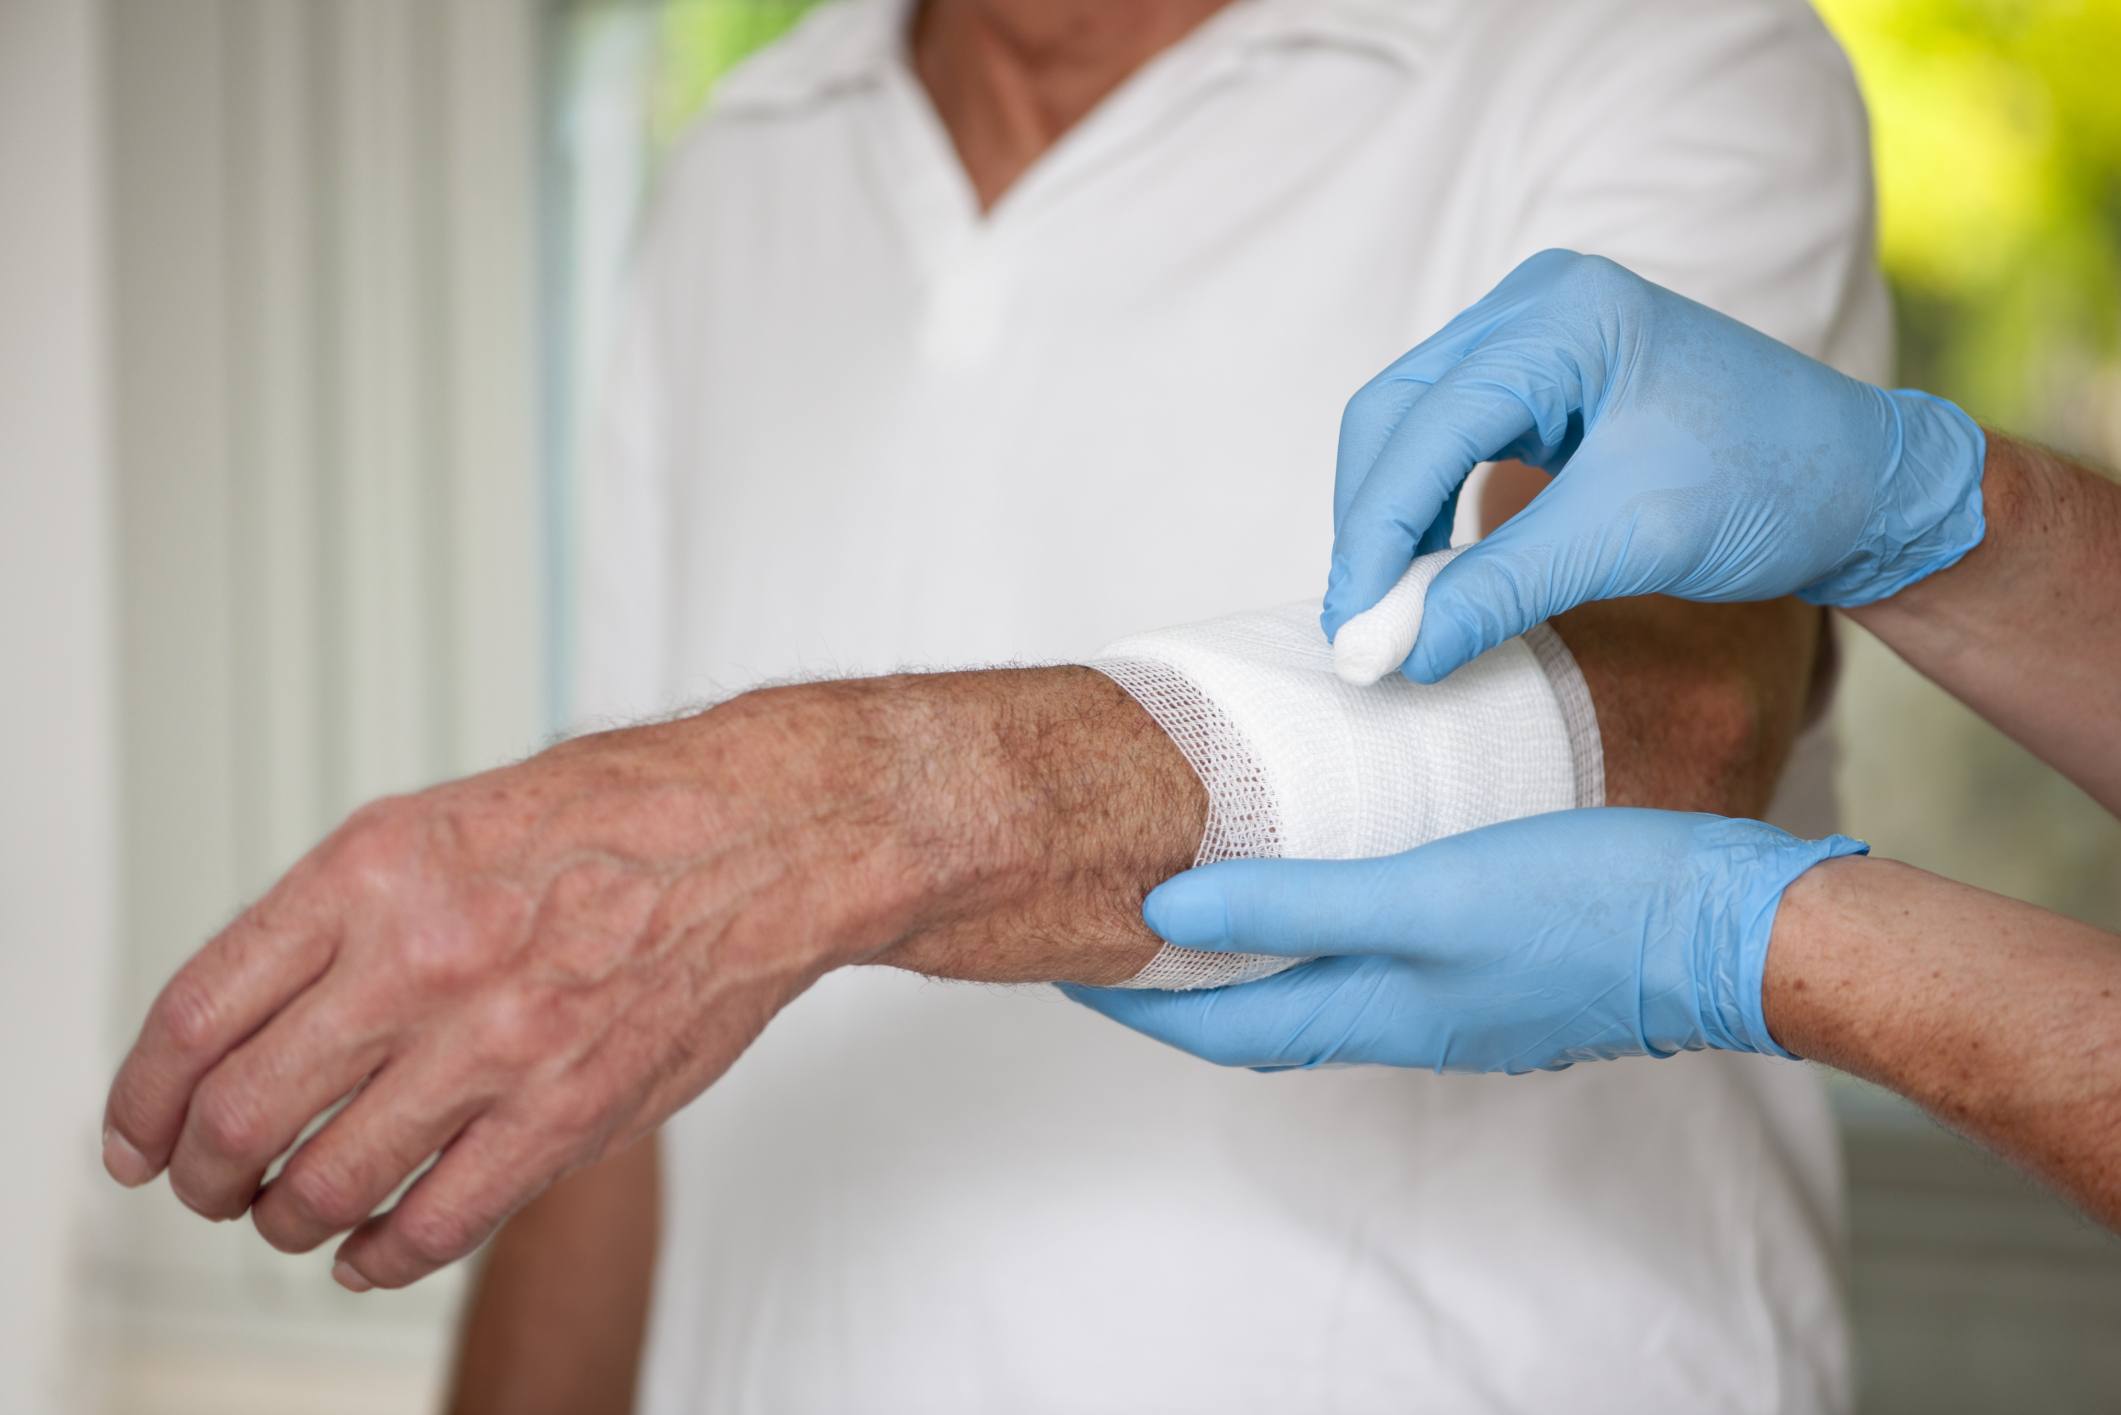
No, it is definitely not as simple as going to your local CVS or pharmacy and buying the most considerable adhesive medical tape and then proceeding to wrap the area around like a comical mummy-like lollipop. Where it is layer upon layer, over more layers of tape, it is known that the application of too much medical tape can make a terrible mess.
Most medical tape does not allow the skin to breathe, and when too much of it is applied, sweat cannot escape making for a very smelly situation. Those are examples of simple complications; if the wrapped injury has a cut, it can become infected and, worse, re-injured when trying to remove the adhesive.
It is worth learning how to apply adhesive tape, especially regarding muscles and articulation. Athletic tape does not behave like medical tape. Medical tape is notoriously rigid, and has very little give. It is meant to keep the area where it is applied too immobilized and steady. Medical tape is not recommended to use while training and might result in the execution of poor technique, which could lead to an even worse injury.
How to Apply Self Adhesive Tape: Athletic Tape, Kinesiology Tape, K-Tape
Not all tapes are made the same. Some tapes have specific functions, and during the 1970s, Dr. Kensio Kase, Japanese Chiropractor, saw the need to create a new sports health tool to help with healing. Several of his clients, professional and Olympic-level athletes, did not want to stop their training regime due to a simple sprain. Yet the medical tape at the time was designed to do only one thing: to hold things in place.
Dr. Kenzo Kase started to develop an adhesive tape that could be used during training and still function as a healing aid. Thus athletic tape or kinesiology sports tape was created. The tape would work by applying pressure over the injury and help by fighting off swelling. The compression provided by the tape would reduce thetapetra room would allow blood to flow and bring in more oxygen.
The greater blood flow to the area would permit the joint to heal faster. This would mean that not only could the athlete still train while using the tape, but they would also heal faster. What made the tape so attractive to sports enthusiasts was its flexibility. The tape was a combination of cotton fibers fitted with specialized elastic cores. These cores provided the tape with elasticity and could be placed along or atop the injury.
There are several types of tapes available in the market; some tapes have a medicated feature in the form of a nonsteroidal anti-inflammatory drug Diclofenac. Which are men to help keep the swelling down. While not all brands carry the anti-inflammatory drug, Kinesiology Tape features it to provide relief from swelling and the pain associated with it.
The prominent feature of the tape is its ability to stretch. This particular feature means the tape brings support and allows for movement. The freedom of movement means the athlete can still train even while being hurt. The tape can even promote a more improved form or technique of the sport being trained.
K-tape saw particular popularity during the 2012 London Olympics. The use of the tape was more prevalent among high-level sports practitioners. People noticed the brightly colored strips of tape suddenly appeared across almost all disciplines by providing the athletes with support to their shoulders, knees, ankles, and muscles all across the body.
It was not long after the Olympics that the tape became a prominent feature in gymnasiums all across the world. The health and wellness markets started offering several types of tape that all promised to function like the k-tape that was heavily featured during the Olympic events. Suddenly the tape was offered by physical therapists and doctors as both an alternative therapy to immobilization and surgery.
A Brief History of Athletic tape
- Athletic Tape, or K-Tape, was developed by Dr. Kenzo Kase as an alternative to Medical Tape.
- It is made up of a combination of cotton fibers and elastic cores.
- Used to improve the health of athletes without immobilizing them.
- Featured prominently during the 2012 London Olympics
- Became a prominent feature in gyms and sporting events all across the world
How to Apply Self Adhesive Tape
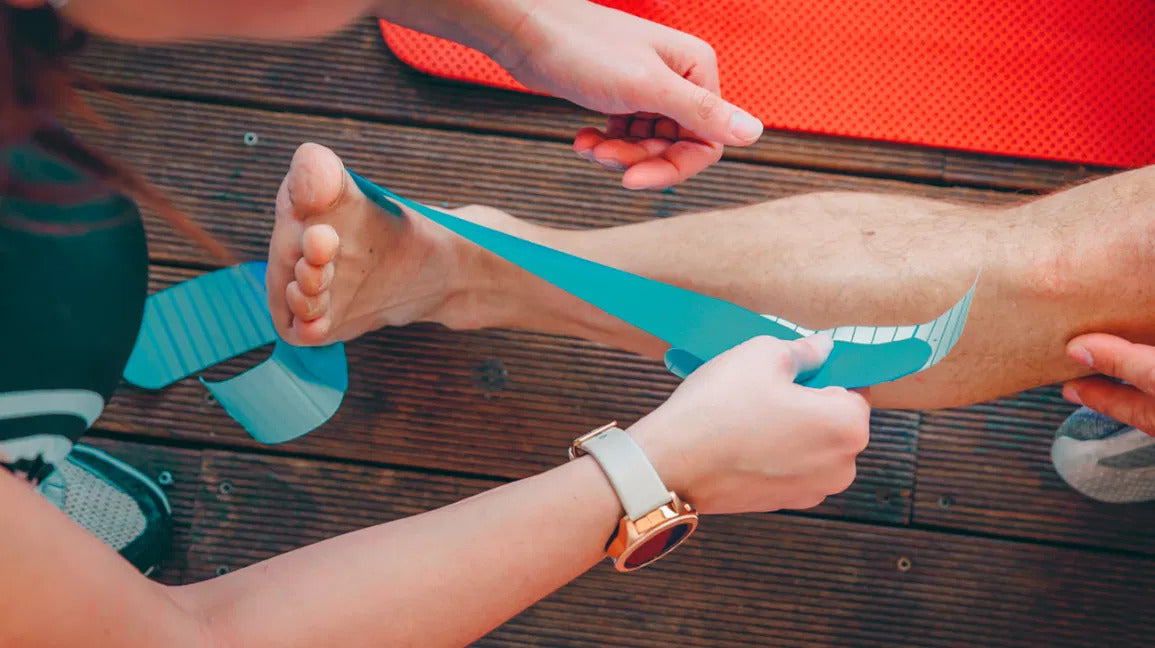
The application of the tape itself is not a complicated issue. Once the problem area is dressed with athletic tape or K-tape, a small amount of friction is needed to generate heat to activate the adhesive. You can generate the heat by rubbing your hands over the length of the tape to warm it up and get it to stick. The glue is designed to stay on for three to four days. It is strong, and it is strongly recommended to remove it gently with the aid of water or oil. If a person removes it without proper preparation, they will end up pulling out all the body hair that is attached to the adhesive.
How to Apply Adhesive Tape: Wrapping or Dressing
Not to be too repetitive, K-Tape or athletic tape is not designed to be a wrap-around bandage. The overuse of the tape defeats its purpose of allowing freedom of movement. K-Tape's main feature is its ability to work its strips. Short strips, and long strips, the tape is also designed to stretch along its length and not across its width.
If there is ever any doubt about how it should be applied, consult with a doctor, or if the injury is simple enough to treat at home, there are several online videos that can help with the application of the tape.
The strips of tape are applied in succession, yet the application of the tape depends on the goal while treating the injury. It is not the same to apply the tape to support the knee joint as it supports the muscles around the knee. Different tension is needed and should be taken into consideration.
How to Apply Adhesive Tape: Quick Look
- Cut the tape to the correct number and length.
- Clean the area before applying the tape.
- Apply the tapes correctly, stretching and releasing along the various points.
- Rub the tape to activate the glue.
Note: It is recommended to apply the tape 1 hour before working out.
How to Apply Adhesive Tape: Types of Cuts
The application of the tape for support along the muscles will sometimes require the tape to be cut in several ways along its length. These cuts are intended to support different muscles with one strip and help bring stability and relief during training.
I-Cut: The most simple cut is a strip of tape of any length. Some find it helpful to use scissors to cut the edges of the tape to make stripping and exposing the adhesive easier.
Y-Cut: A cut along the length creates a Y-like shape to allow the application of the same tape along two muscles.
X-Cut: A cut made along the center at the opposite ends of the tape. The tape ends up looking like an X.
Fan Cut: Several stips are cut along the length of the tape to allow it to stick to several points along the muscle.
O-Cut: Primarily used to circle the knee joint. A cut was made along the center length leaving the ends intact.
These cuts are intended to treat injury and fight off swelling. It is always recommended to visit a physical therapist or a doctor to show how to apply and which cuts are best used for support and physical well-being.
How to Apply Adhesive Tape: Removal
A quick word on removal. The adhesive on these tapes is strong. Make sure to remove it during a warm bath with plenty of soap. Remove along the way as the body hair grows. Ripping the tape off the opposite way can pull out hairs, even when using soap and water. Soaking in baby oil is another technique for easy removal. Soak the strips of adhesive tape with the oil and allow it to sit for approximately 30 min, then slowly remove.


